.webp)

How to Paint Kitchen Cabinets: DIY Guide
If your kitchen feels outdated but a full remodel isn't in the cards, painting your kitchen cabinets might be the perfect middle ground. It's one of the most budget-friendly ways to transform the space without tearing everything out. Knowing how to paint kitchen cabinets correctly — from prep to finishing touches — can help you achieve a pro-level result on a DIY budget.
Many Seattle homeowners ask us about painting kitchen cabinets as an alternative to replacement. It's a project that seems simple, but without the right tools, timing, or paint, results can fall short. This guide walks you through the entire process step by step — including the best paint for kitchen cabinets, tools you'll need, cost breakdowns, and smart tips for beginners. You'll also learn when it might make sense to hire a pro, especially if you're working with older cabinets or short on time.
At Renova Remodels, we've refinished countless kitchens across Seattle — from historic homes to modern condos — and we're happy to share what works, what doesn't, and how to get the most from your time and materials.
Painting kitchen cabinets offers a high-impact upgrade with relatively low disruption. You don't have to gut your kitchen or invest in new cabinetry to enjoy a fresh, modern look.
Replacing kitchen cabinets often means reconfiguring layouts, rerouting plumbing, and potentially weeks of construction. It’s effective — but expensive and time-consuming. In contrast, painting cabinets allows you to:
It’s also far more sustainable. Instead of sending old cabinets to a landfill, you’re giving them new life — and that’s a win for both the environment and your wallet.
The cost to paint kitchen cabinets is significantly lower than replacing them. New cabinets can cost $15,000–$25,000 or more, while painting typically falls between $2,500 and $6,000 — even less for a DIY job. That's money you can put toward new appliances, better lighting, or stylish hardware.
Beyond savings, paint has the power to completely shift the tone of your kitchen. Want a clean, modern feel? Go with matte white. Prefer warmth and coziness? Try a deep sage green or navy. It's one of the simplest ways to align your kitchen's look with your taste.
.png)
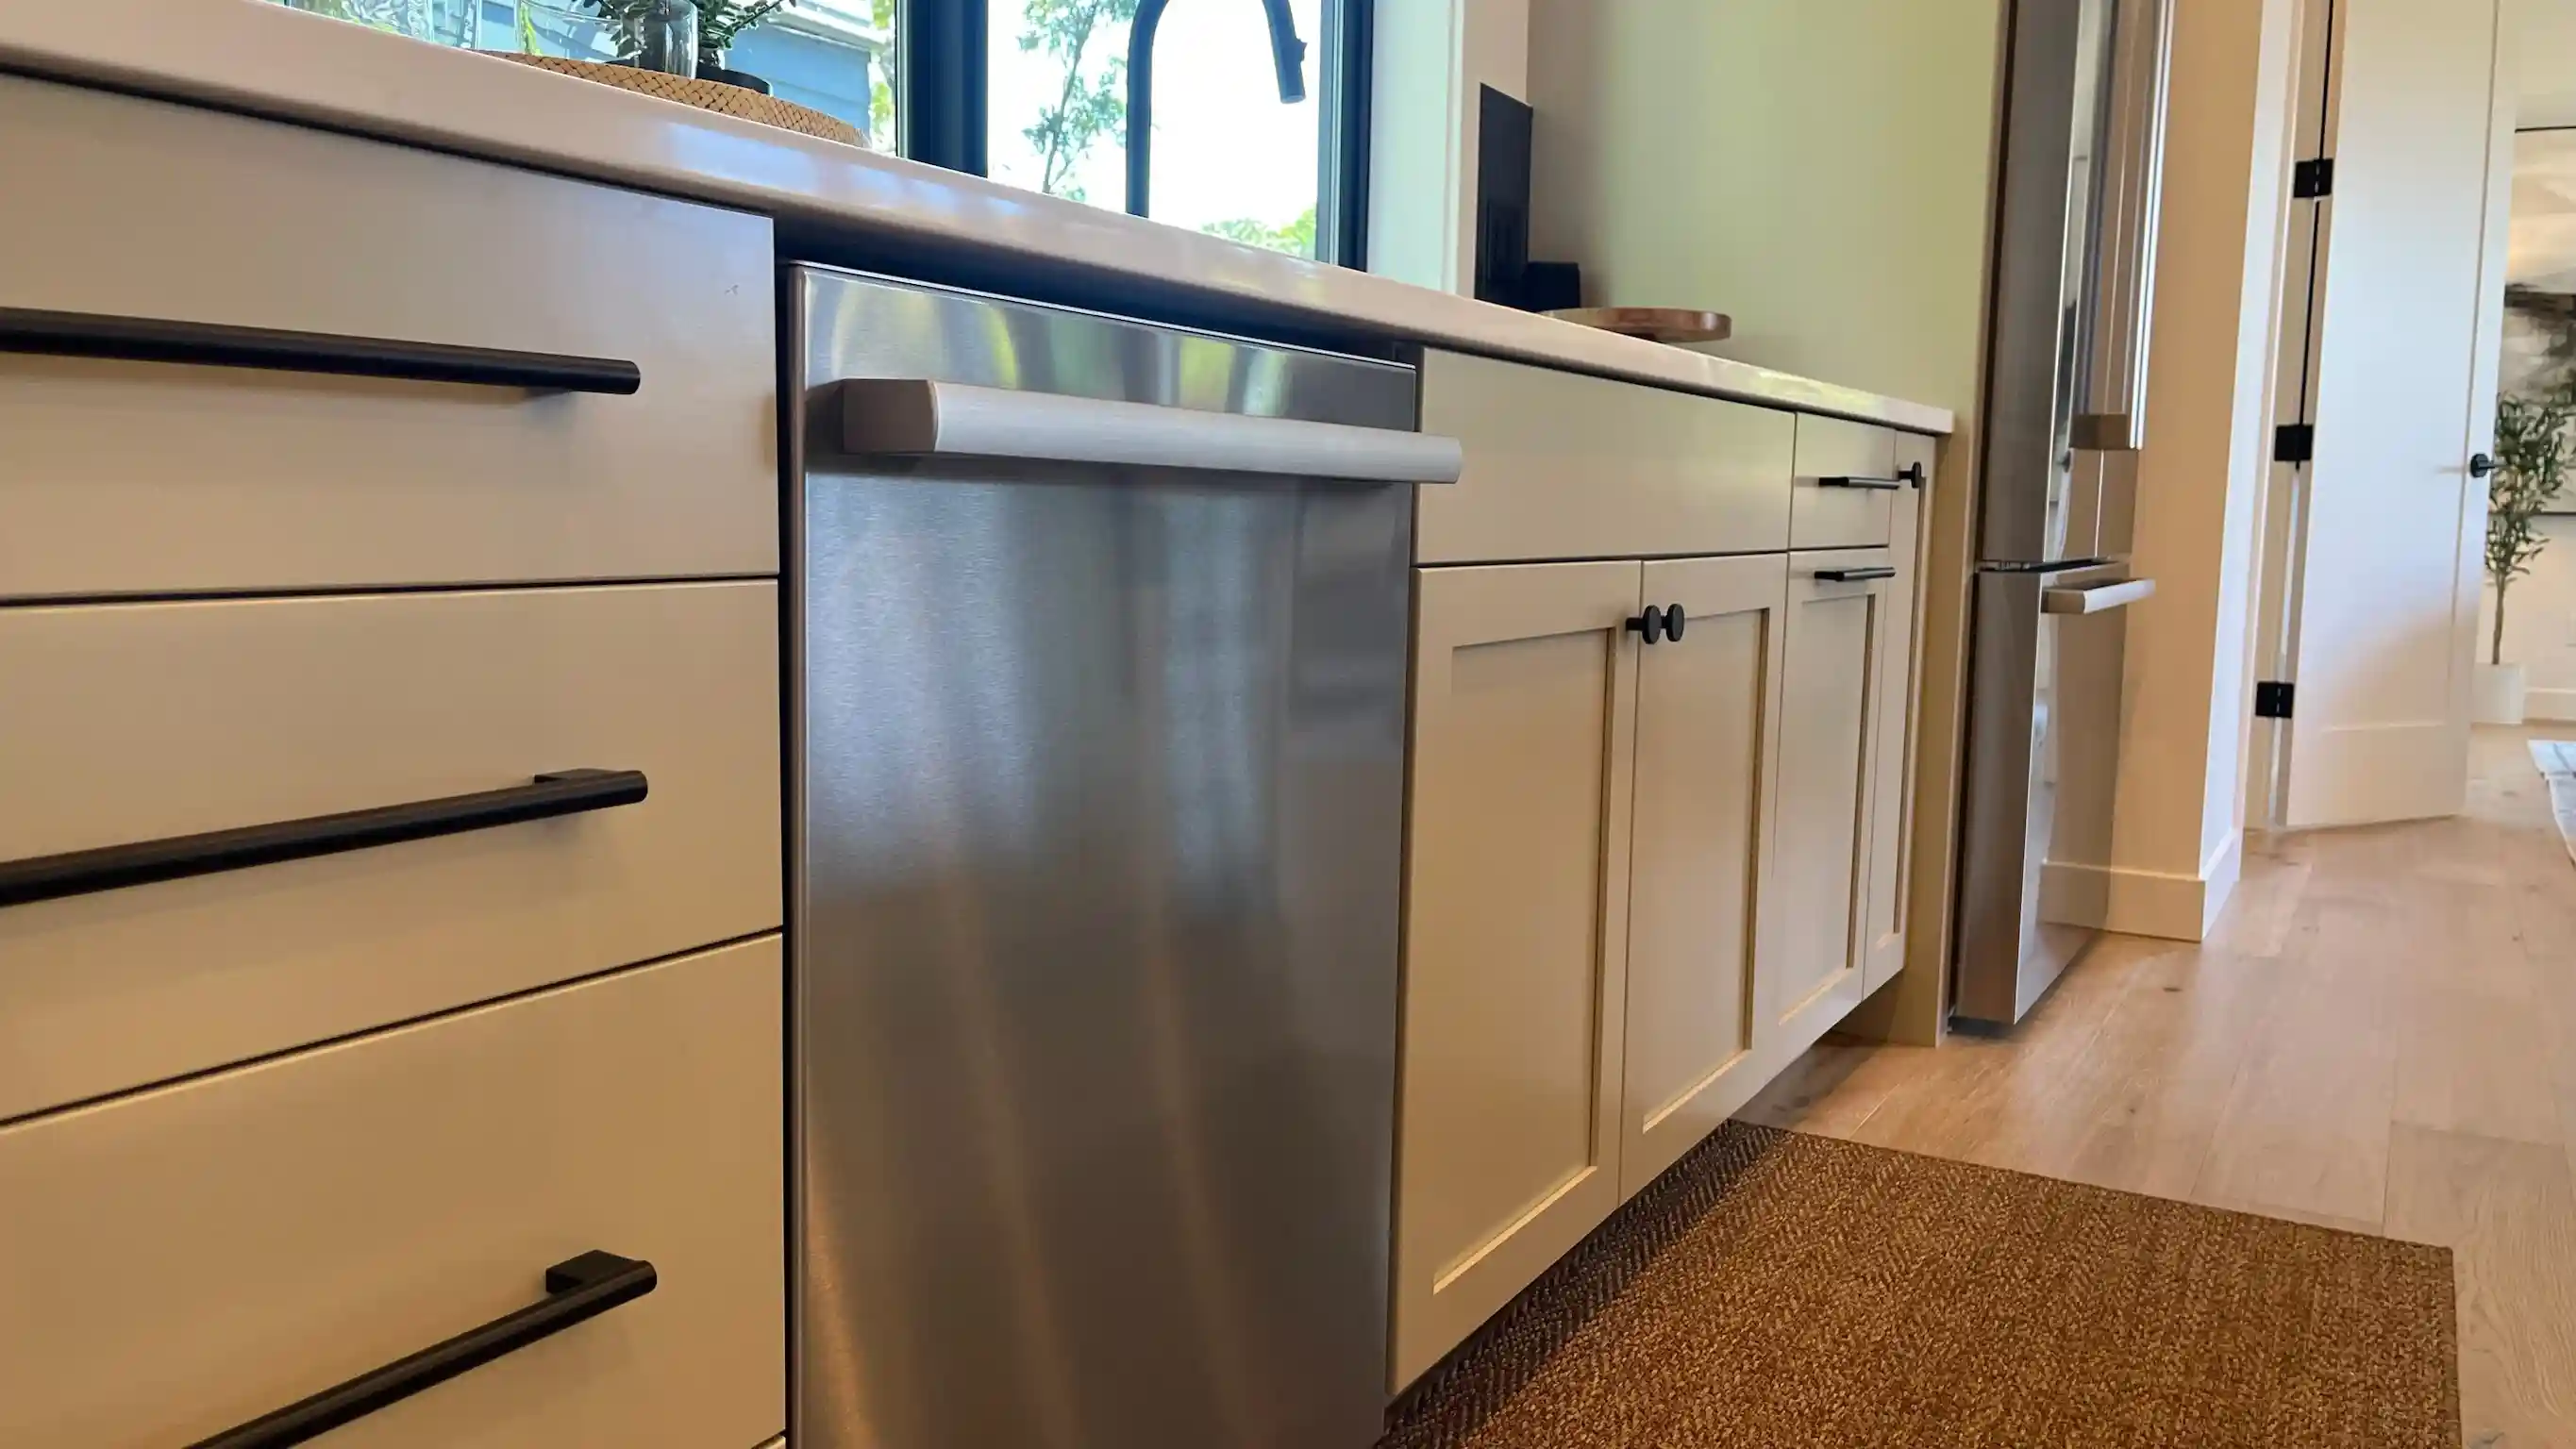
painting kitchen cabinets
Before you start painting, it's important to gather the right tools and choose materials that will hold up in a high-use space like the kitchen. This isn't just about grabbing a roller and a can of paint — it's about using products designed to withstand grease, steam, and constant handling.
With the right prep and the right products, your cabinet paint job can last for years without chipping or discoloring.
best paint for kitchen cabinets without sanding
Not all paint is made for cabinetry. Regular wall paint just doesn’t have the durability or resistance required in the kitchen. The best paint for kitchen cabinets is typically a high-quality acrylic enamel, water-based alkyd, or urethane-modified acrylic.
These paints are designed to:
Here are three solid choices for kitchen cabinets paint:
For those looking for the best paint for kitchen cabinets without sanding, several of these products can be applied over proper bonding primers, skipping heavy sanding in some cases. Just make sure to test adhesion on a small area first.
Pro tip from the Renova team: choose a satin or semi-gloss finish. Matte looks great at first, but it shows wear quickly and is harder to clean.
A clean, professional-looking result depends heavily on your tools. Here’s what we recommend for DIY painting kitchen cabinets:
Brushes and Rollers:
Primers:
Other Essentials:
Using pro-level materials ensures better adhesion, fewer brush marks, and a longer-lasting finish — something we emphasize on every kitchen cabinet refresh we complete at Renova.
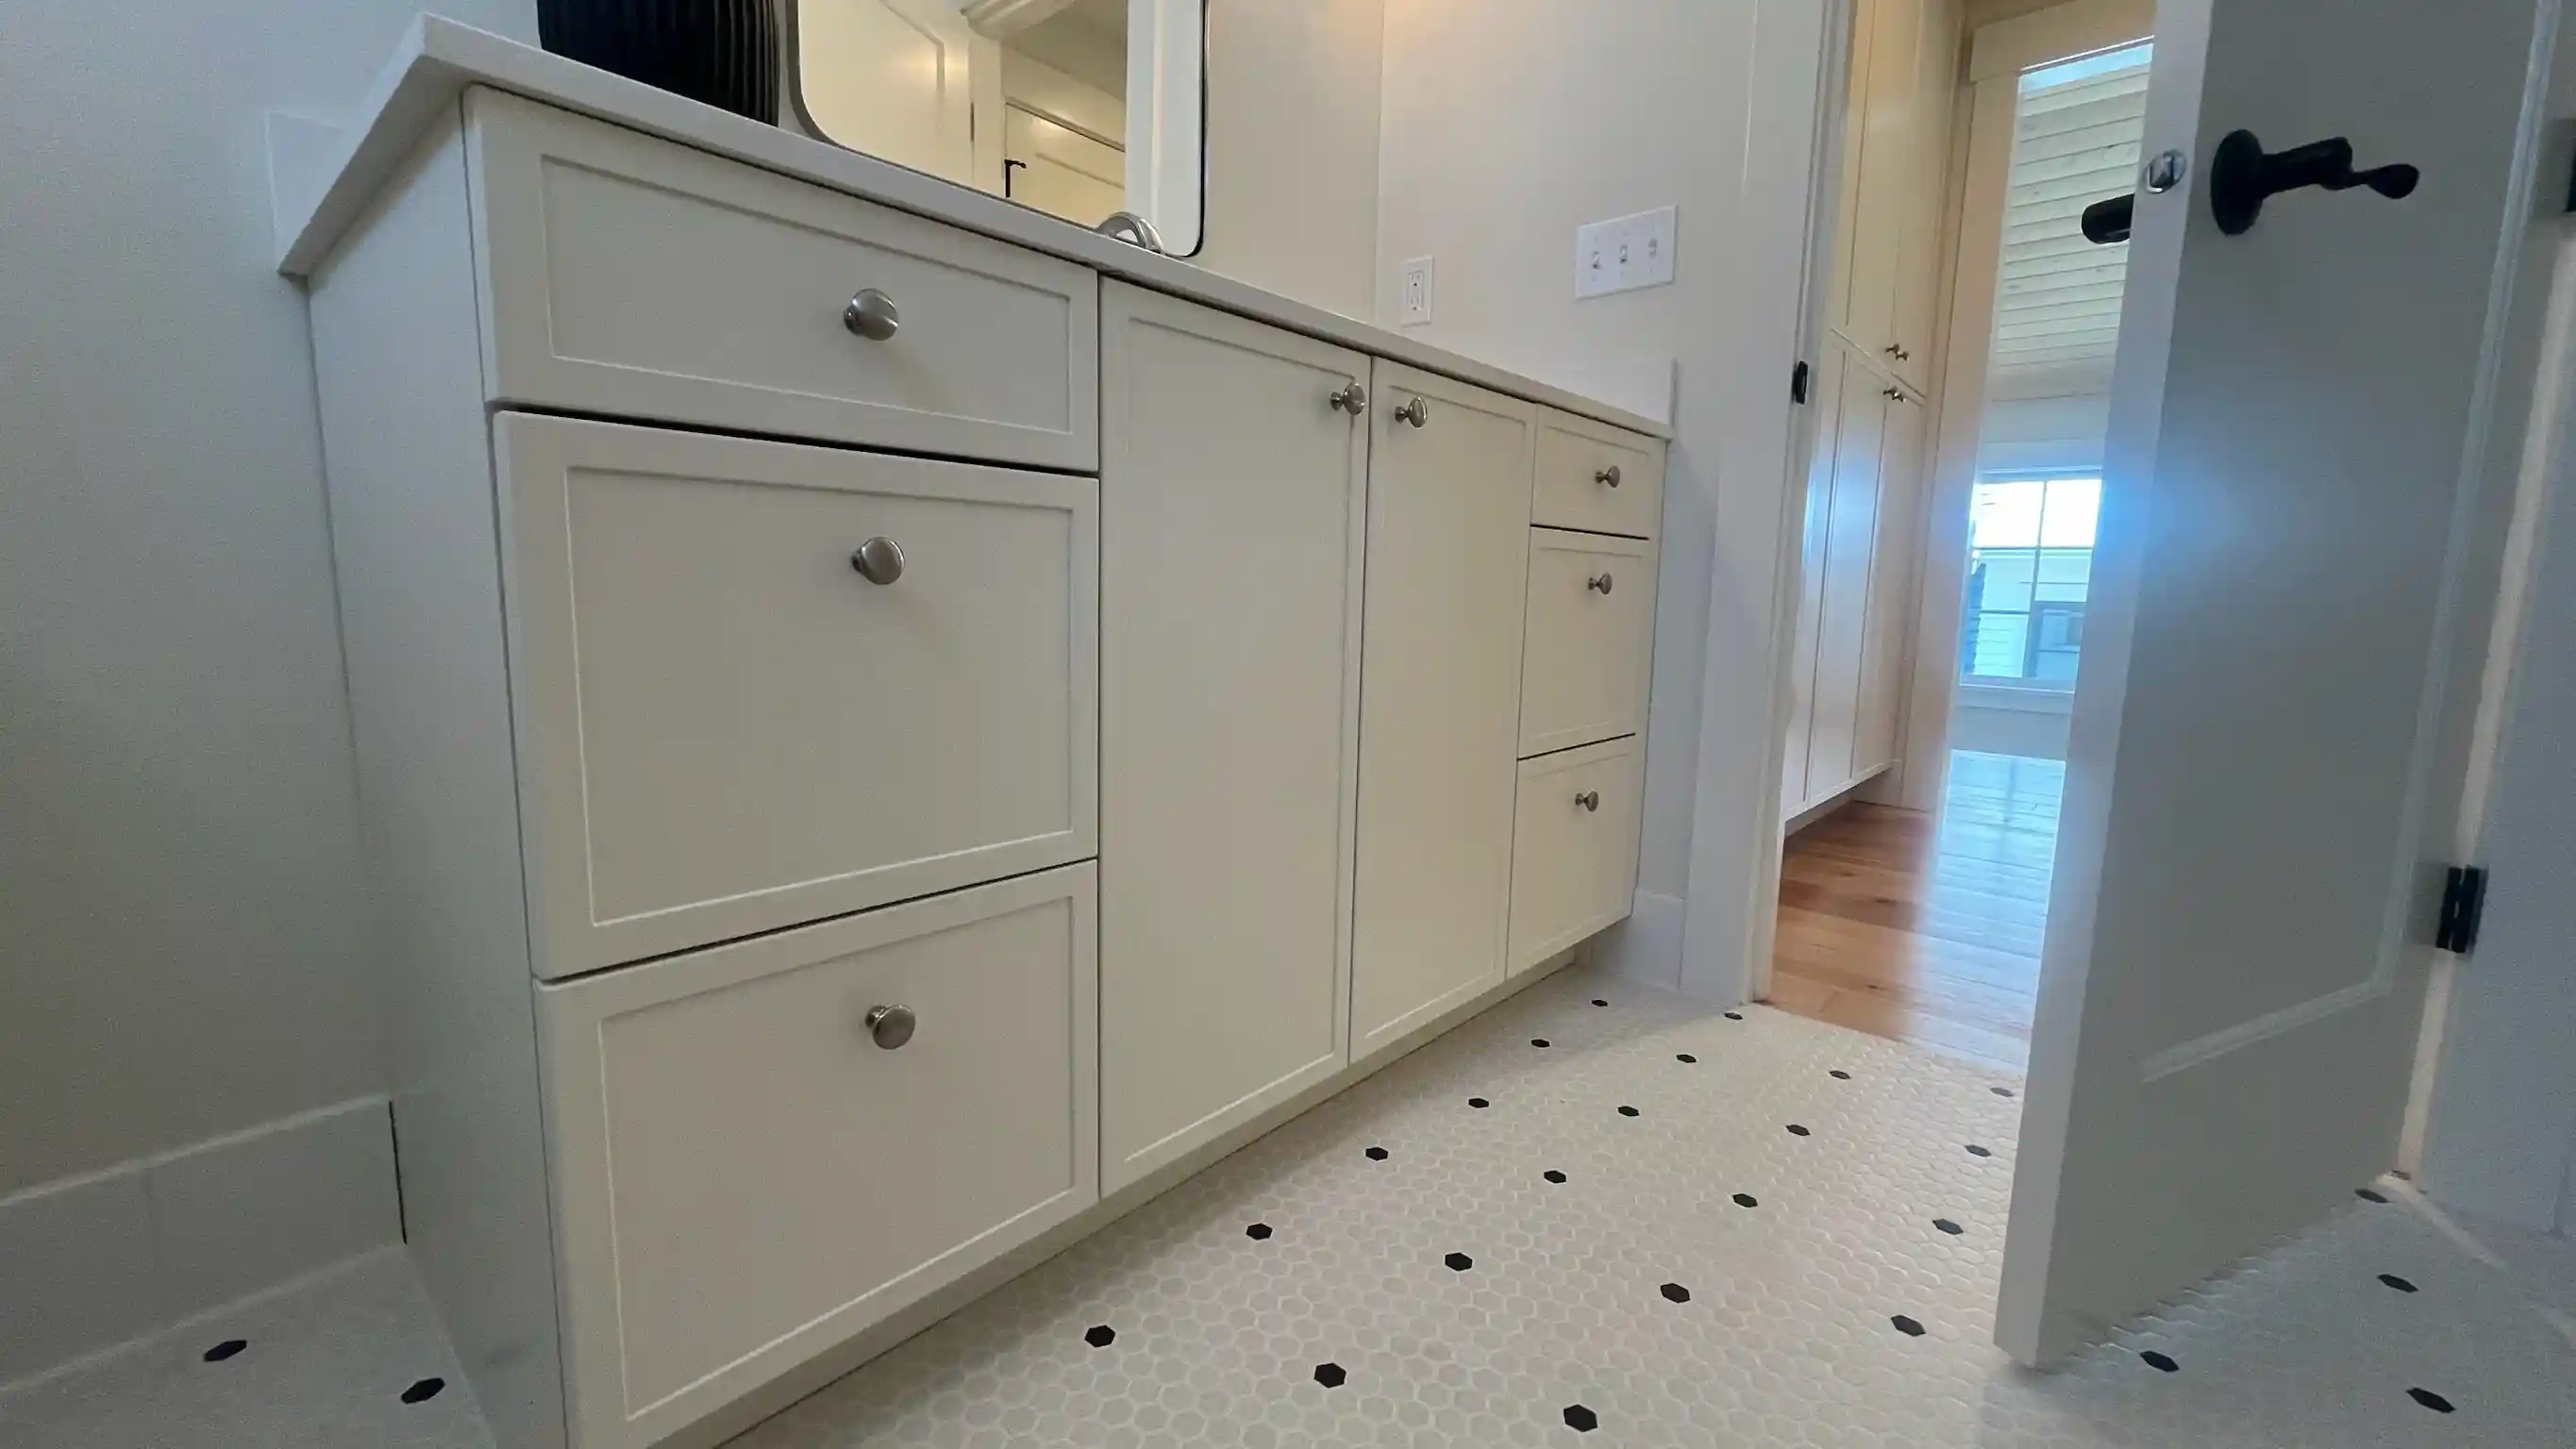
painting kitchen cabinets for beginners
Once your cabinets have been prepped for painting, comes the exciting part — painting! Planning and patience pay dividends here; hurrying or skipping steps may result in peeling paint, uneven coverage or visible brush strokes if done without due care and planning.
Here's the easiest and most efficient way to paint kitchen cabinets:
Step 1: Choose the right primer.
If you haven’t sanded, use a bonding primer like INSL-X STIX or Zinsser 123. If you’ve sanded down to bare wood, use an oil-based or shellac-based primer for better coverage.
Step 2: Apply a thin, even coat.
Use a high-quality brush for edges and corners and a foam roller for large flat surfaces. Work in thin layers — thick coats lead to drips and uneven texture. Don’t forget cabinet doors, drawer fronts, and frames.
Step 3: Let it dry completely.
Drying time depends on the primer you use. Most take 4–6 hours to dry, but some require overnight curing. Don’t rush this step. Check the can for exact timing.
Step 4: Lightly sand and clean again.
Once dry, lightly sand with 220-grit paper to remove bumps or brush marks. Wipe down with a tack cloth to remove all dust.
Now you’re ready to paint kitchen cabinets with your selected color and finish.
Step 1: Stir the paint thoroughly.
Avoid shaking the can — this introduces bubbles. Stir well with a stick for a smooth consistency.
Step 2: Apply the first coat.
Use a combination of brush and foam roller for full coverage. Apply slowly and consistently, starting with the inside edges and frames, then doors and drawers. Try to keep a “wet edge” to avoid lap marks.
Step 3: Let it dry.
Most paints need 4–8 hours of drying time, sometimes more depending on humidity. Place doors flat and allow for airflow on all sides. Don’t reinstall or flip too soon — this can leave marks or smudges.
Step 1: Apply the second coat.
Once the first coat is fully dry, apply a second layer the same way. This coat adds richness and ensures full coverage. Two coats are typically enough, but a third may be needed if you're covering a dark finish with a light color.
Step 2: Cure before reassembly.
After the final coat, wait at least 24 hours before handling. Some paints take up to 7 days to fully cure — be patient. Avoid placing heavy items inside until the paint hardens.
Step 3: Reattach doors and hardware.
Once cured, reinstall doors, drawers, and hardware. If upgrading handles or pulls, now is the perfect time to switch styles.
At Renova Remodels, we follow this same process on full kitchen refinishing jobs — combining professional tools, durable products, and careful curing to deliver a finish that holds up beautifully for years.
Choosing the right paint and color is more than just a style decision — it affects durability, maintenance, and how your kitchen feels day to day. The best paint for kitchen cabinets should provide a smooth finish, resist moisture and stains, and last for years without chipping or fading.
Recommended paint types for cabinets:
Avoid using chalk paint or regular latex wall paint. These aren’t designed for kitchen use and won’t hold up to cleaning, grease, or humidity.
Ideal finishes:
Most homeowners we work with at Renova Remodels choose satin or semi-gloss for a balanced look and function.
Popular cabinet paint colors in Seattle kitchens:
If you're searching for painting kitchen cabinets ideas, start by looking at real kitchens in homes like yours. Think about your existing countertops, flooring, and appliances. Some homeowners go bold with navy or forest green lowers and soft white uppers, while others choose a sleek monochromatic palette. Don't be afraid to experiment — just test swatches first and view them under your actual lighting conditions.
When picking a color, consider how much light your kitchen gets, what finishes surround the cabinets, and the overall mood you want to create. Testing a few swatches in place — under your actual lighting — helps you make a confident choice before you commit.
how much to paint kitchen cabinets
The cost to paint kitchen cabinets can range from a few hundred dollars for a DIY project to several thousand if you hire a professional team. Knowing what goes into the pricing helps you set a realistic budget and make informed decisions.
DIY painting is the more budget-friendly option, but it requires time, space, and attention to detail. If you're confident in your prep work and have the patience to see it through, you could complete the project for under $600.
Typical DIY costs:
Total estimated DIY cost: $250–$600
The upside is cost savings. The downside is that it takes time, and any mistakes (like uneven coats or poor adhesion) can be hard to correct — especially on cabinets exposed to daily use.
Professional cabinet painting, on the other hand, delivers faster turnaround, higher consistency, and longer-lasting results. It’s a higher upfront cost, but often worth it if your cabinets need repair, your time is limited, or you want a showroom-level finish.
Typical professional pricing in Seattle:
At Renova Remodels, we handle everything from prep to cleanup — including protecting your kitchen, using high-end finishes, and ensuring your cabinets cure properly before reinstalling. We’ve seen too many DIY jobs that needed touch-ups just months later. When longevity matters, working with pros is often the better long-term value.
Several factors can influence how much to paint kitchen cabinets in your home:
Every kitchen is different. That’s why Renova always offers a free on-site consultation to evaluate your space and give you a transparent, customized quote — with no hidden costs or unexpected fees.
When painting kitchen cabinets, it’s easy to underestimate how detail-oriented the process really is. We've seen DIY jobs in Seattle that looked great on day one — and started peeling by month three. Avoiding a few common mistakes can mean the difference between a job that lasts for years and one that needs redoing within months.
Here’s what not to do if you want smooth, durable results:
Skipping the prep.
This is the most common mistake. Grease, dust, and residue prevent paint from sticking. Cabinets must be thoroughly cleaned and lightly sanded, even if you’re using a “no-sand” primer. Prep work is tedious, but absolutely necessary.
Using the wrong paint.
Wall paint doesn’t belong on cabinets. It won’t adhere properly, can peel under humidity, and lacks the durability for daily wear. Always use high-quality cabinet-grade paint, like acrylic enamel or waterborne alkyd.
Skipping primer.
Even if the paint says "paint and primer in one," don't skip a separate primer — especially for glossy or dark finishes. Primer creates a bonding layer that keeps your topcoat from sliding off or soaking in unevenly.
Applying thick coats.
Thicker paint doesn’t mean better coverage. It leads to drips, uneven texture, and longer drying times. Always apply in thin, even coats — usually two, sometimes three.
Not allowing enough drying or curing time.
Touch-dry is not the same as fully cured. If you reinstall cabinet doors or stack items too soon, you can damage the finish. Be patient — good cabinet paint needs at least 24–48 hours to cure properly.
Rushing the job.
Painting cabinets is a project that rewards patience. If you're short on time or unsure about your tools and products, it's better to pause or call in professional help than push forward and regret the result.
At Renova Remodels, we take the time to do it right the first time — with the right prep, the right products, and a crew that knows how to work around real-life kitchens.
Painting your kitchen cabinets is one of the most cost-effective ways to transform the look and feel of your kitchen without committing to a full remodel. It’s also a project that many homeowners can tackle themselves — with the right prep, tools, and patience.
You’ve now seen the full process: from cleaning and sanding, to choosing the best paint for kitchen cabinets, to applying each coat with care. Whether your goal is a bright, modern look or something timeless and warm, a fresh coat of paint can breathe new life into your space — all while keeping your layout intact and your budget under control.
Still, even a DIY project takes time, space, and confidence in your materials. If you’re unsure about sanding, spraying, or choosing the right product, working with a trusted contractor may be the better option. At Renova Remodels, we offer complete cabinet refinishing services across Seattle — delivering professional results with durable, high-end finishes and fast turnaround.
Not sure where to start? We offer free consultations and accurate, line-by-line estimates — so you can compare DIY vs professional options with full transparency.
Ready to refresh your kitchen? Get in touch with our team today and let’s talk about how to make your cabinets look brand new.
Is painting cabinets hard?
It depends on your experience and patience. Painting cabinets isn’t overly technical, but it requires attention to detail, surface prep, and multiple stages. The most time-consuming parts are cleaning, sanding, and drying between coats.
Can I just paint over my kitchen cabinets?
Not without prep. Even if the surface looks clean, oils and finishes will prevent proper adhesion. You need to clean thoroughly and use a bonding primer at the very least.
Is it better to spray or roll paint on cabinets?
Spraying gives a smoother, more professional-looking finish, but requires proper masking and ventilation. Rolling and brushing are more DIY-friendly and still provide great results if done carefully.
Do I have to sand cabinets before painting?
In most cases, yes. Even light sanding improves adhesion. You can sometimes skip sanding if using a high-quality bonding primer — but skipping both steps is not recommended.
How to clean cabinets before painting?
Use a degreasing cleaner like TSP or Krud Kutter. Scrub all surfaces thoroughly, especially around handles and the stove. Rinse and dry completely before priming or sanding.